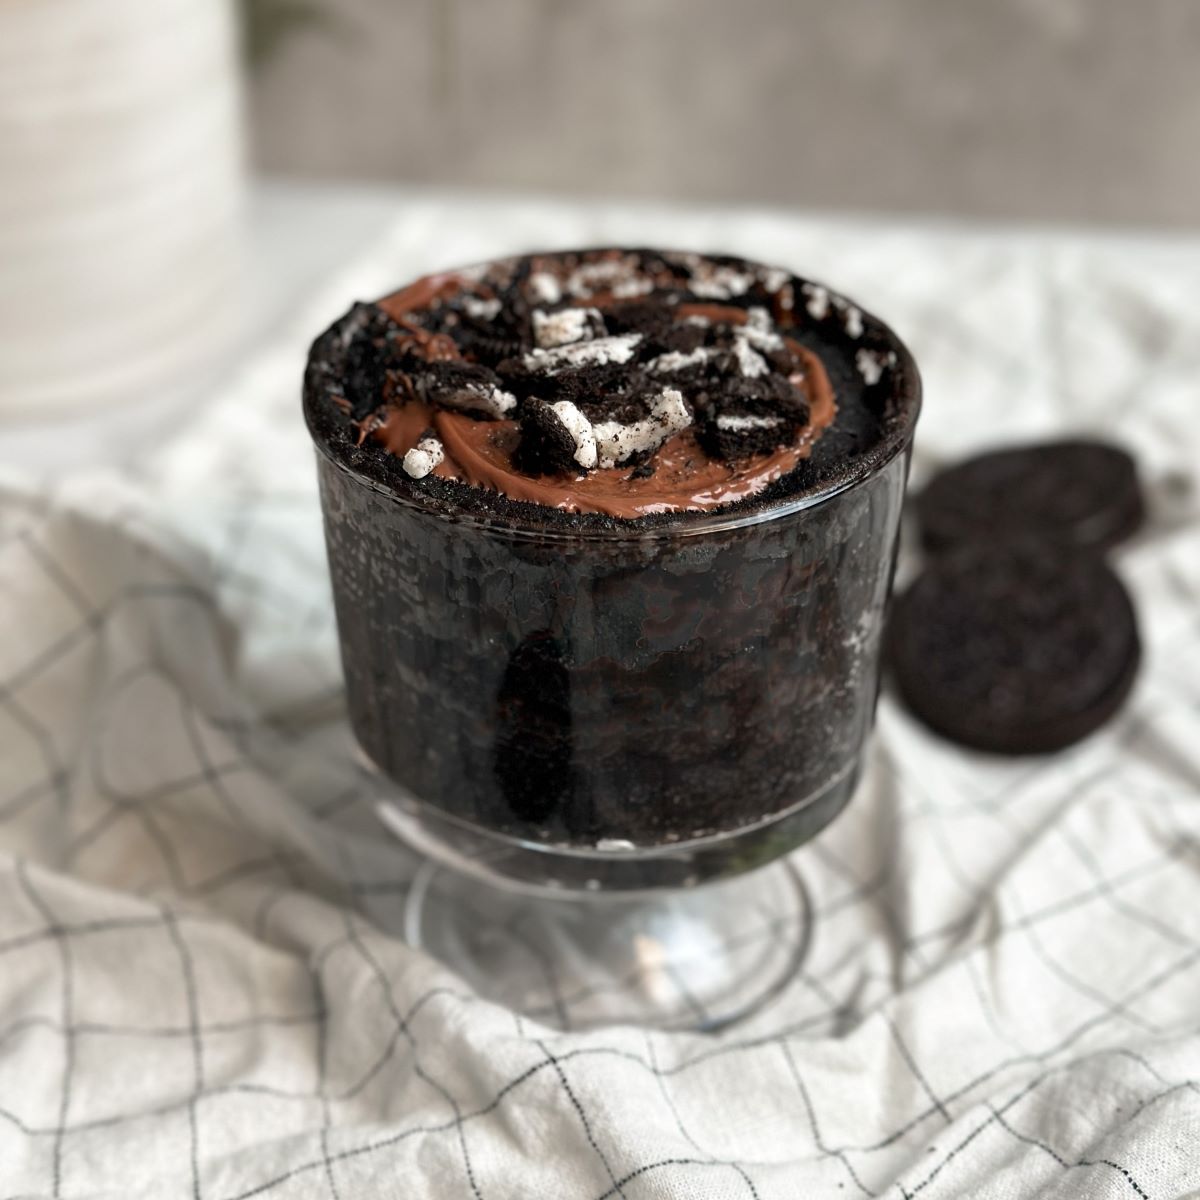
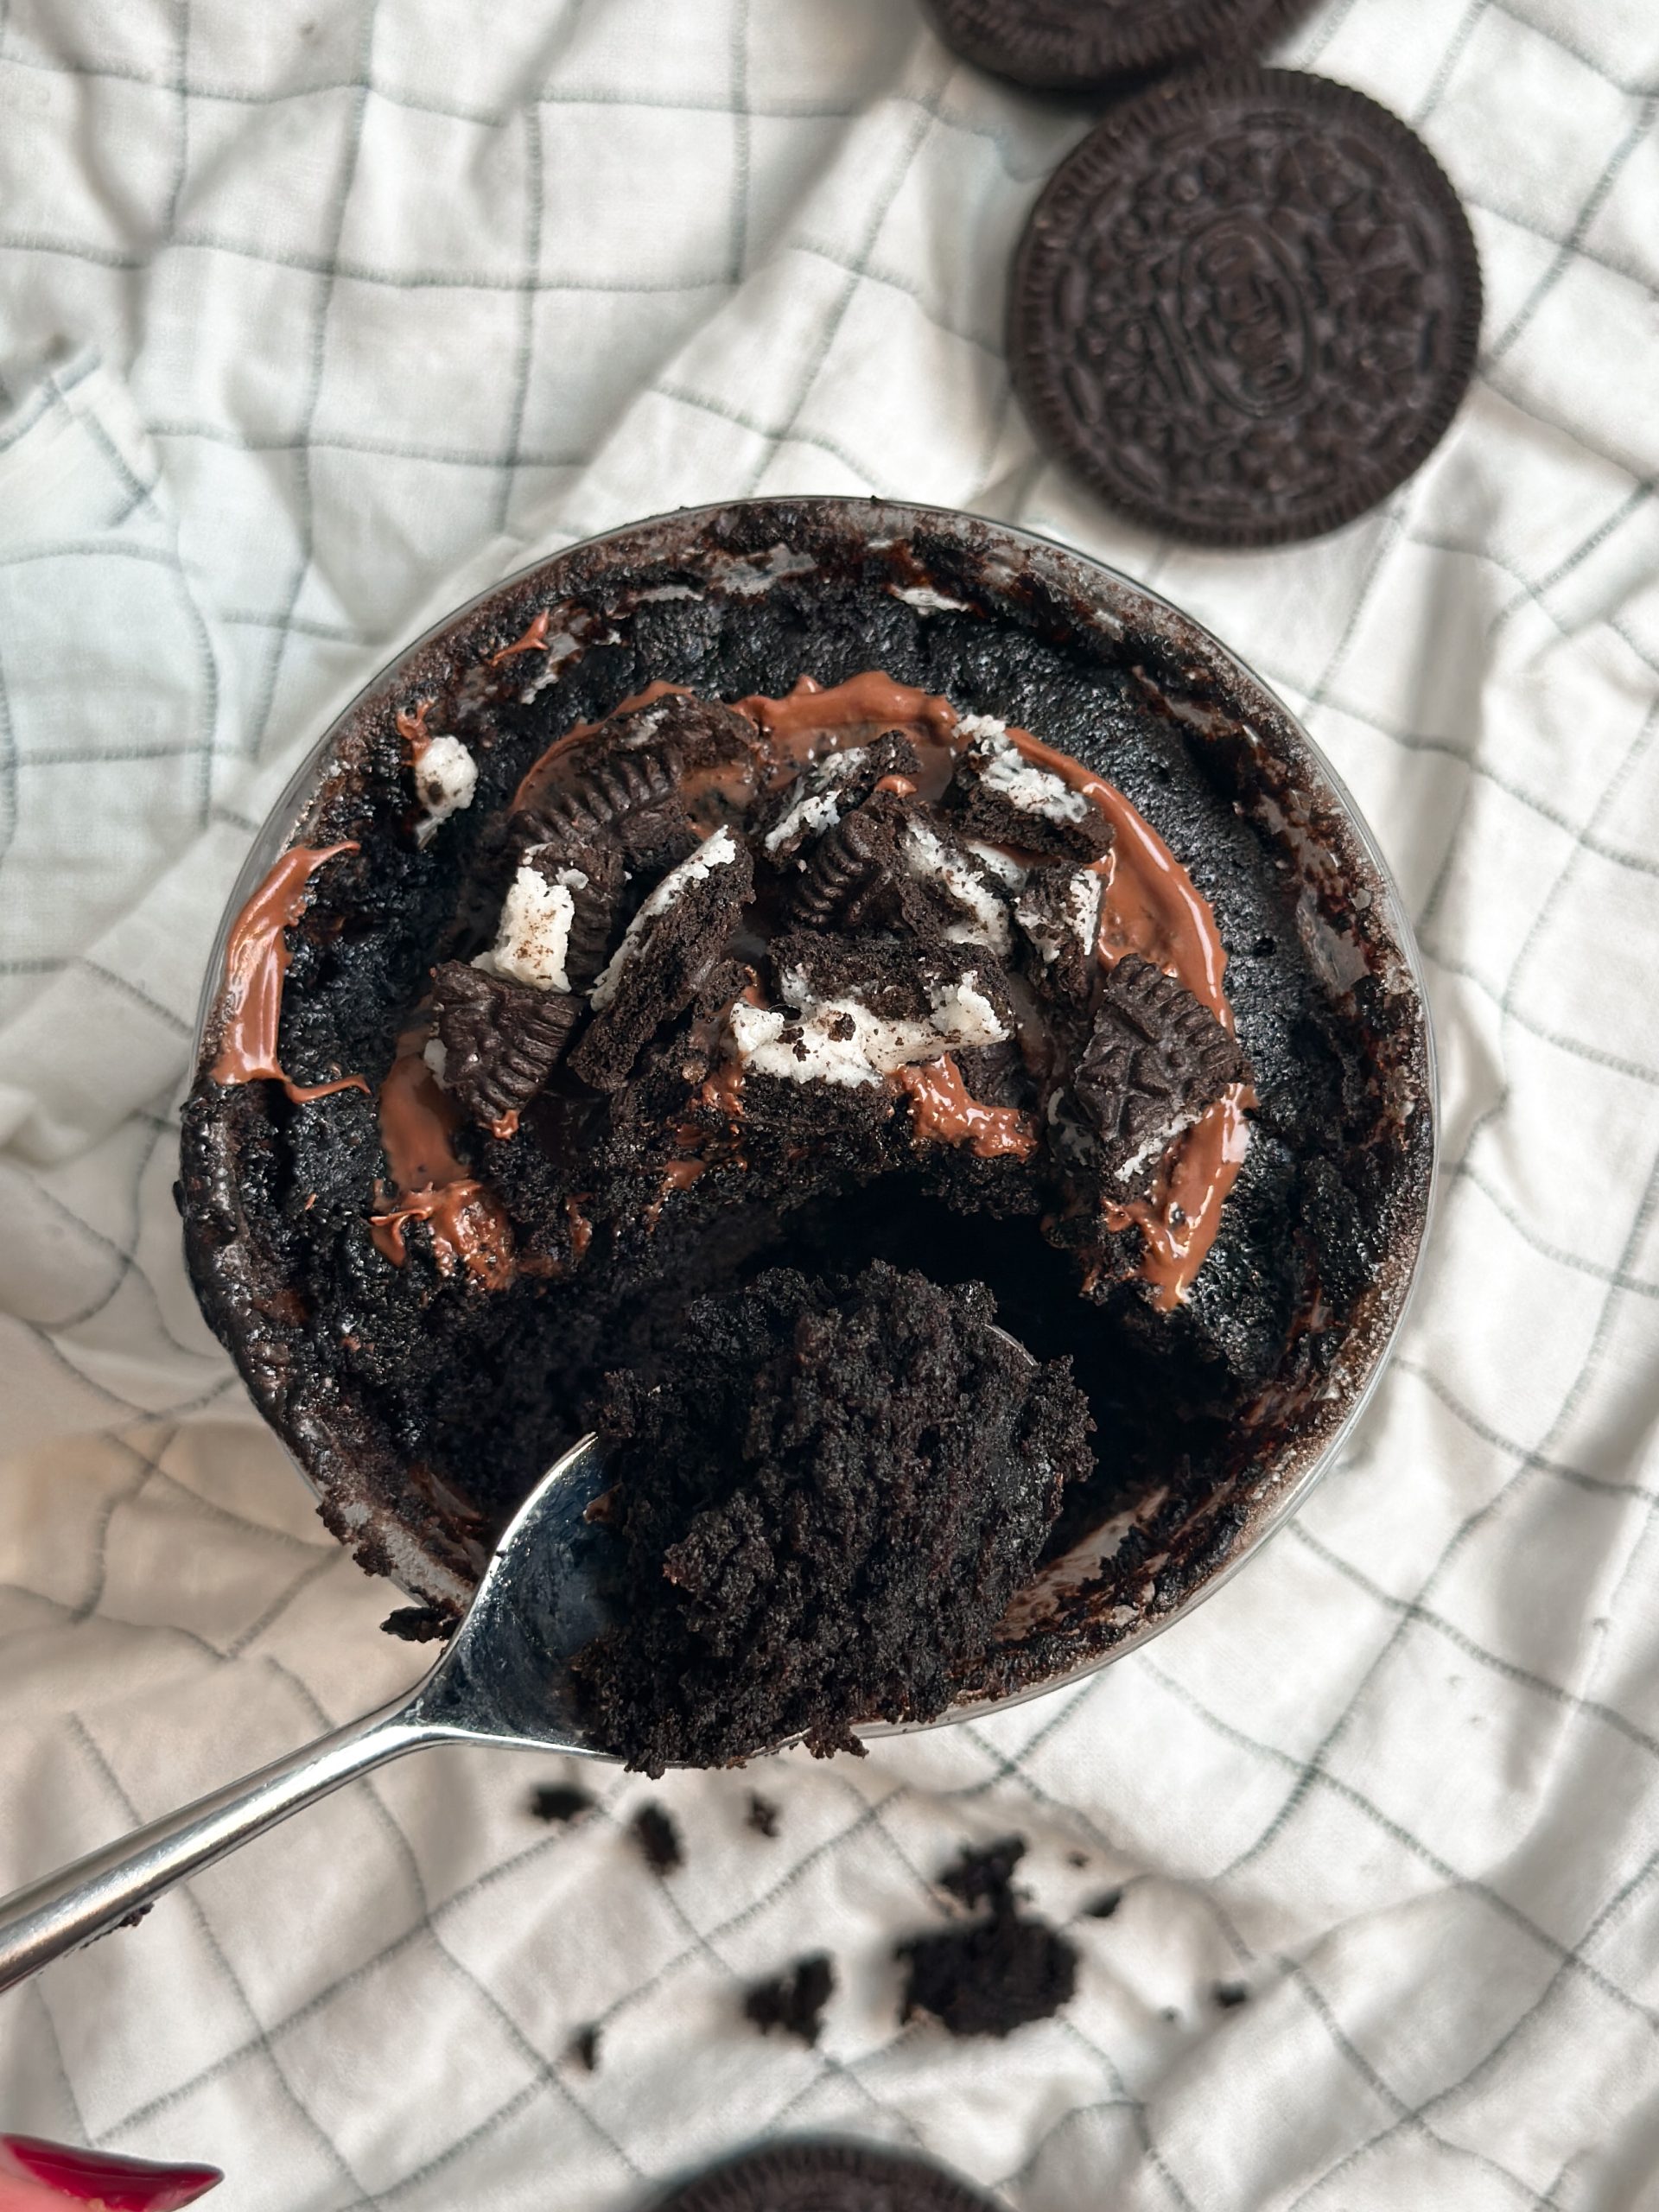
What if I told you that you could transform a few simple ingredients into a delightful dessert in under five minutes? The five-minute Oreo mug cake offers precisely that kind of culinary magic. It’s not just a treat, it’s an experience that takes minimal time but yields maximum pleasure.
Originally popularized through viral food blogs and social media, this quick recipe has garnered a loyal following. The simplicity of mixing crushed Oreo cookies with milk, microwaving the mixture, and enjoying a quick dessert appeals to those with a limited schedule but an unlimited craving for sweets. Remarkably, searches for “Oreo mug cake” have surged by over 150% in the past year, underscoring its immense popularity.
If you’re searching for a quick and delicious treat, look no further. This five-minute Oreo mug cake transforms simple ingredients into a delectable dessert in just minutes. Perfect for satisfying your sweet tooth quickly and without any hassle.

Ingredients for Oreo Mug Cake
Making an Oreo mug cake is simple and fun. You’ll need just a few ingredients to create this delicious treat. Let’s check what you need to get started.
- 4 Oreo cookies
- 1/4 cup milk
- 1/2 teaspoon baking powder
- 1 tablespoon sugar
- 1 tablespoon flour
- Pinch of salt

General Information about Oreo Mug Cake
Oreo mug cakes are a delightful quick dessert. They are easy to make and require only a few minutes. Let’s look at some essential details about making this delicious treat.
| Category | Details |
|---|---|
| Making Difficulty | Easy |
| Preparation Time | 2 minutes |
| Cooking Time | 1.5 minutes |
| Serving Size | 1 |
| Meal Type | Dessert |
Step-by-Step Instructions
Making an Oreo mug cake is quick and simple. Follow these steps carefully to ensure you get the best results. From prepping the ingredients to enjoying the cake, we’ve got you covered.
Step 1: Crush the Oreos
Start by placing the Oreos in a plastic bag. Use a rolling pin to crush the cookies into fine crumbs. Make sure there are no big chunks left.
If you don’t have a rolling pin, you can use the back of a spoon. Crushing the Oreos thoroughly is essential for a smooth mixture. Take your time to get the right texture.
Step 2: Mix the Ingredients
Pour the crushed Oreos into a microwave-safe mug. Add the milk, baking powder, sugar, flour, and a pinch of salt.
Mix all the ingredients with a spoon until you get a smooth batter. Ensure there are no lumps in the mixture. This helps your cake cook evenly.
Step 3: Microwave the Mixture
Place the mug in the microwave. Set the timer for about 1.5 minutes.
Watch the cake as it cooks to prevent it from overflowing. The cake will rise, and you should check its doneness with a fork.
Step 4: Let It Cool
Once the microwave stops, carefully remove the mug. The mug will be hot, so use a cloth or oven mitts.
Allow the cake to cool for a couple of minutes. This makes it easier to handle and lets the flavors set.
Step 5: Enjoy Your Cake
After cooling, your Oreo mug cake is ready to enjoy. You can eat it straight from the mug or transfer it to a plate.
Optionally, you can add toppings like ice cream or whipped cream. This will make your treat even more delicious.
Important Things to Keep in Mind
When making an Oreo mug cake, one crucial aspect to remember is microwave safety. Ensure that the mug you use is microwave-safe to avoid accidents. Never overfill the mug, as the mixture will rise during cooking.
Pay attention to the **cooking time**. Depending on your microwave’s wattage, the cooking time may vary slightly. Start with 1.5 minutes and adjust accordingly if the cake isn’t fully cooked.
Another key factor is ingredient quality. Fresh ingredients, especially milk and sugar, can significantly affect the taste and texture. Avoid using stale or expired products for the best results.
Personalizing the recipe can make the cake even better. Feel free to add extra ingredients like chocolate chips or a dash of vanilla extract. These additions can enhance the flavor and make the cake uniquely yours.

Tips for The Perfect Oreo Mug Cake
Creating the perfect Oreo mug cake can be an art. To achieve the best results, consider a few essential tips. These will help you make a delicious and satisfying dessert every time.
Choosing the Right Mug
First, make sure to use a microwave-safe mug. The size of the mug also matters. A larger mug allows the cake to rise properly without overflowing.
Avoid using mugs with metallic decorations. These can spark in the microwave and cause accidents. Plain ceramic mugs are usually the best choice.
Optimal Mixing
Mixing the ingredients thoroughly is crucial. Make sure the batter is smooth and free of lumps. This ensures an even texture throughout the cake.
If you have a small whisk, use it for better results. A fork can also work well, but take extra time to ensure everything is well combined.
Experiment with Flavors
Adding extra flavors can make your mug cake more exciting. Try incorporating chocolate chips, a splash of vanilla extract, or even some fruit.
These additions can enhance the taste and make each bite more enjoyable. Don’t be afraid to get creative with your ingredients.
Monitoring Cooking Time
Always keep an eye on the mug cake while it’s in the microwave. Microwaves can vary in power, which affects cooking time. Start with 1.5 minutes and adjust as needed.
If the cake looks like it’s rising too quickly, pause the microwave and let it settle for a few seconds. This helps prevent overflow and ensures even cooking.

Frequently Asked Questions
Discover more about the delightful Oreo mug cake that has gained popularity for its ease and taste. Here are some frequently asked questions to help guide you through making this delicious treat.
What ingredients do I need to make an Oreo mug cake?
To make an Oreo mug cake, you need simple ingredients that are likely already in your pantry. The basic ingredients include Oreo cookies, milk, baking powder, sugar, flour, and a pinch of salt.
You can also add extra ingredients like vanilla extract or chocolate chips to enhance the flavor. Feel free to personalize the recipe as per your preferences.
Can I make an Oreo mug cake without a microwave?
While a microwave is the quickest way to make an Oreo mug cake, you can also bake it in an oven. Preheat your oven to 350°F (175°C) and bake the cake in an oven-safe mug for about 12-15 minutes.
Check the consistency with a toothpick; if it comes out clean, the cake is ready. This method takes longer but yields equally delicious results.
How can I ensure my mug cake cooks evenly?
Ensuring even cooking can be a bit tricky. Start by making sure all ingredients are thoroughly mixed to avoid lumps, which could affect the texture.
Also, use a microwave-safe mug that’s large enough to allow the mixture to rise. Keep an eye on the cake while it’s cooking and pause the microwave if needed.
Why is my mug cake overflowing?
A common issue with mug cakes is overflowing. This often happens when the mug is too small, or the ingredients are not mixed properly, causing uneven rising.
To prevent this, use a larger mug and be cautious not to overfill it. Keep the mug only two-thirds full to give the cake space to rise without spilling over.
Can I store a leftover Oreo mug cake?
Although Oreo mug cakes are best enjoyed immediately, you can store leftovers. Cover the mug with plastic wrap and keep it in the refrigerator for up to 24 hours.
When you’re ready to eat it, reheat the cake in the microwave for about 20-30 seconds. Note that the texture might change slightly upon reheating.
How to make the best tasting Oreo mug cake! #shorts #cooking #dessert
Conclusion
The Best Five Minute Oreo Mug Cake is a delightful and convenient treat that has captured the hearts of many dessert lovers. With just a few basic ingredients and a short preparation time, it’s perfect for satisfying your sweet tooth in a pinch. This easy recipe not only brings the joy of baking but also encourages creativity in the kitchen.
From choosing the right mug to experimenting with flavors, there are numerous ways to make this simple recipe your own. Whether you’re a novice cook or an expert, the Oreo mug cake offers a quick and satisfying solution for any dessert craving. Embrace the simplicity and enjoy the sweet rewards of this delicious treat.
Leave a Reply